Services Overview
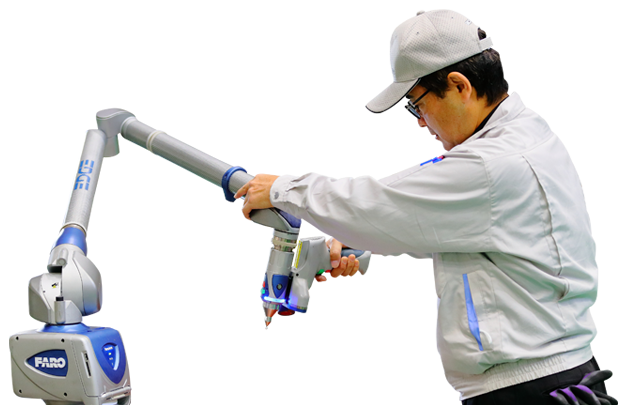
Services Overview

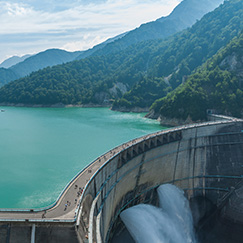
You do not have the right equipment in-house to scan or measure the target object or structure.

You do not have the expensive, difficult metrology software for processing 3D point data.
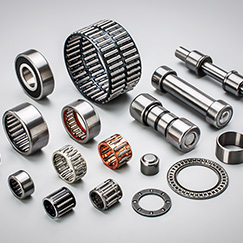
You want a parametric CAD model of an as-built part but no time to scan and design.
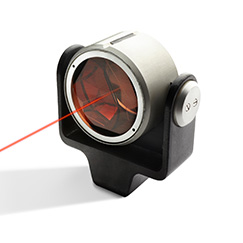
You have a laser scanner or tracker but none of your employees can utilize it.
Leave your metrology projects to the pros at Nabeya Manufacturing!
With our proven track record of more than 6,000 projects completed, our 20 metrology engineers have the experience and technology to finish your projects under budget, before deadline.
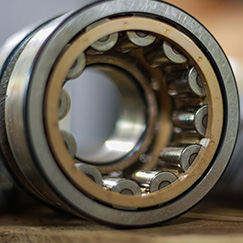
We can scan objects of any size -- from bearings to ballparks!
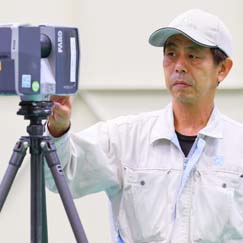
We can 3D scan and CAD model outdoor structures of any size and complexity.
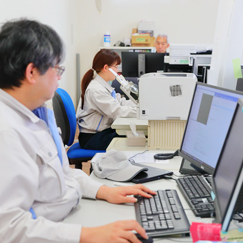
We can reverse engineer complex assemblies from as-built parts.
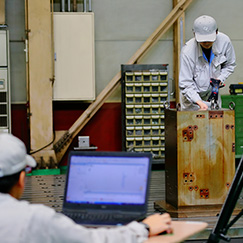
Our engineers can handle any project.
Past projects include automobile welding lines, tunnels, railroad bridges, museums pieces, medical equipment and more. We can provide accurate measurement data and parametric models up to 0.01mm at ranges of more than 100m. We can export data to all major CAD formats.
One question we always get asked at job sites is "how much did all your gear cost?" Any one of our devices might cost hundreds of thousands of dollars, but that belies the total cost of entry. One also must consider the software licenses and maintenance fees, as well as personnel costs. That is why clients from all industries count on JMS for total manufacturing solutions.
If you have any of the following problems…
…then call on JMS for your metrology solutions. Don't waste time and money -- let us review your specs and provide you with a free estimate right away.
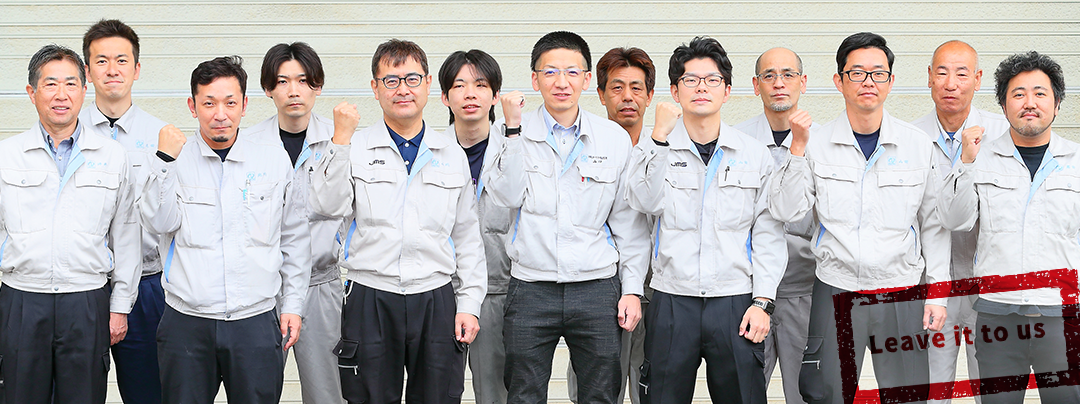
Our team of engineers has more than 100 years of combined experience with metrology hardware, software, jig alignment, data processing, CAD modeling, precision machining and more. Whatever the situtation calls for, we are ready to provide total solutions.
Leave it to JMS!
Metrology engineers and equipment: #1 in Asia
Providing metrology solutions around the globe.
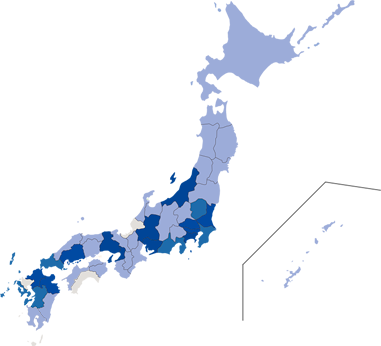
[DOMESTIC] Hokkaido, Aomori, Akita, Iwate, Miyagi, Yamagata, Fukushima, Niigata, Ishikawa, Toyama, Ibaraki, Tochigi, Tokyo, Kanagawa, Chiba, Yamanashi, Gunma, Nagano, Saitama, Shizuoka, Aichi, Gifu, Mie, Shiga, Nara, Osaka, Wakayama, Hyogo, Kyoto, Tottori, Shimane, Okayama, Hiroshima, Yamaguchi, Kagawa, Tokushima, Ehime, Kumamoto, Miyazaki, Fukuoka, Oita, Nagasaki, Kagoshima, and Okinawa
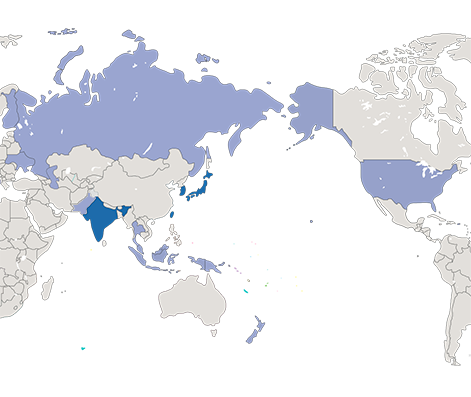
[INTERNATIONAL] U.S.A., Russia, Finland, Ukraine, Taiwan, China, Korea, India, Philippines, Thailand, Singapore, Malaysia, Indonesia, Pakistan
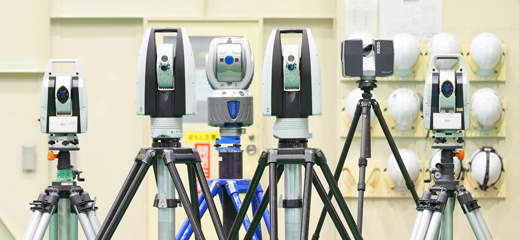
We are recommend by equipment manufacturers Hexagon and Faro. With our full selection of equipment, we can scan anything near or far, large or small. We can even take dynamic measurements of moving targets such as factory robots, assembly lines and more.
Tunnels, steel utility towers, machine tools, industrial robots, ironworks, rocket factories, nuclear power plants, wind tunnels, jet engine components, aircraft fuselage parts, aircraft jigs, automobile assembly lines, stamping press dies, injection molds, medical devices, LCD and semiconductor production lines, museum displays, historical buildings, surgical assistance robots, wooden forms, bronze sculptures, prototypes and many, many more.
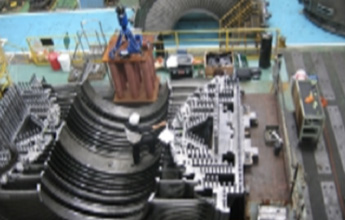
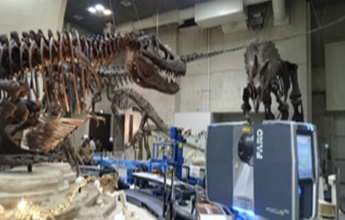
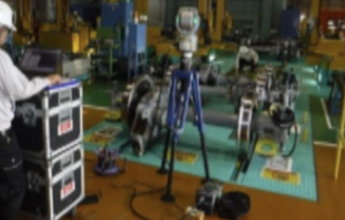
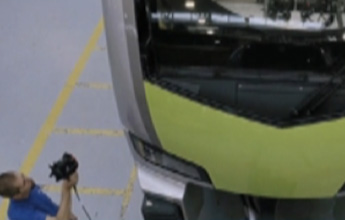
Other metrology services typically offer only scanning or measurement. At JMS, we can fabricate replacement parts, repair and re-align jigs and much, much more.
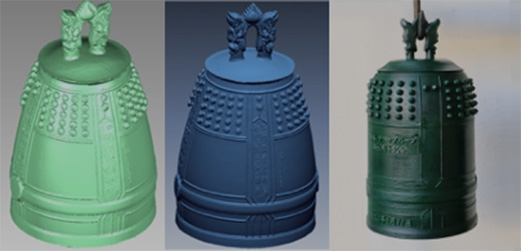







We can perform layout simulations and interference checks directly from point cloud data, saving time and money
We can prepare 3D CAD models and 3D printer data from scan data.
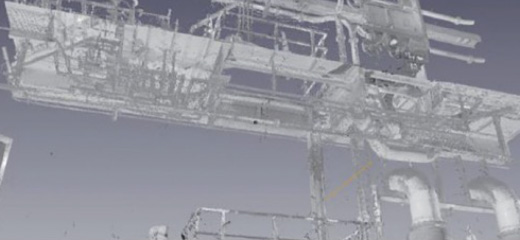 Point cloud data acquired from 3D scanning
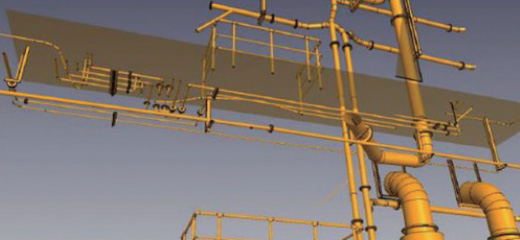 CAD model built from point cloud data
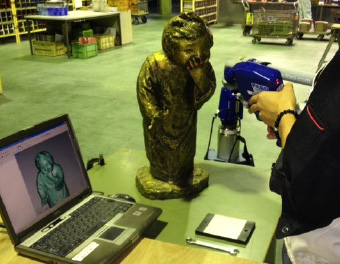 Scanning with LLP
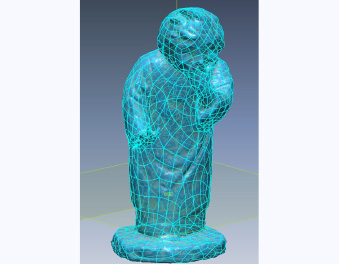 Polygon mesh and CAD model
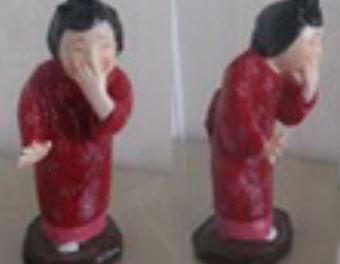 3D printed replica